After you’ve created a category, you’ll want to fill it up with your members. You can do this manually using the steps below, or automatically assign categories based on answers to profile questions.
Assigning a member to a category enables you to do a few things right off the bat:
- You can visually identify members belonging to a particular category of member, such as a featured member, an administrator, or something else more in line with your community
- You can send broadcast messages to members of a particular member category if you do not want to send a message to the entire network
- You can set permission controls around specific features in your network for specific member categories
To assign a member to a category, go to the Member Management panel in your network’s dashboard via the member icon in the green administrative toolbar. This will take you to the Members page in the your dashboard. Check the box next to one or more members on your network (including or excluding yourself as the Network Creator), in order to assign them to this brand new category.
This new category assignment will take effect automatically.
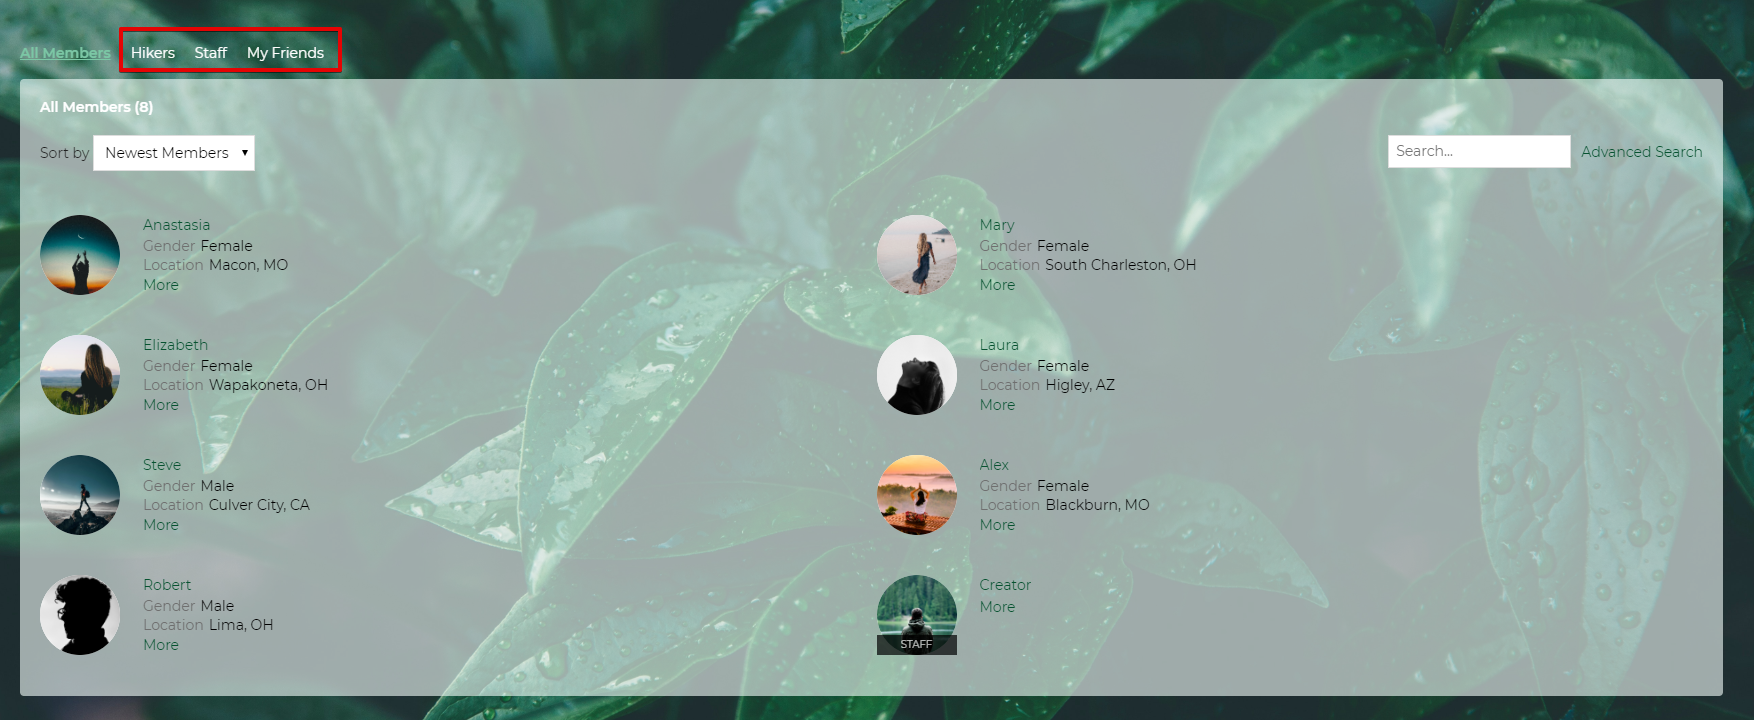
Once you assign a member (or members) to a category, you will see any badge or text you’ve added for that category appear on the member’s profile photo in almost every location where their profile photo appears. A couple of exceptions are on the sign in and sign up pages. Here are a few members in different member categories, complete with badges over their profile photos:
The members with hammers are administrators, the members with the megaphones are musicians and the members with hearts are fans. These are just a few examples of what you can do with member categories on your network.
Please note that while submenu items have been added for all member categories here, you have the freedom to pick and choose who to highlight, how and where.