Making a custom header can seem daunting, but it’s not that hard. You’ll need to start with the image of your choice, crop it or resize it to be the correct size, and then upload it to your Ning Network. The width of your Ning Network’s header area will vary slightly, depending on the theme you select.
Choosing a Theme That Works with Your Custom Header
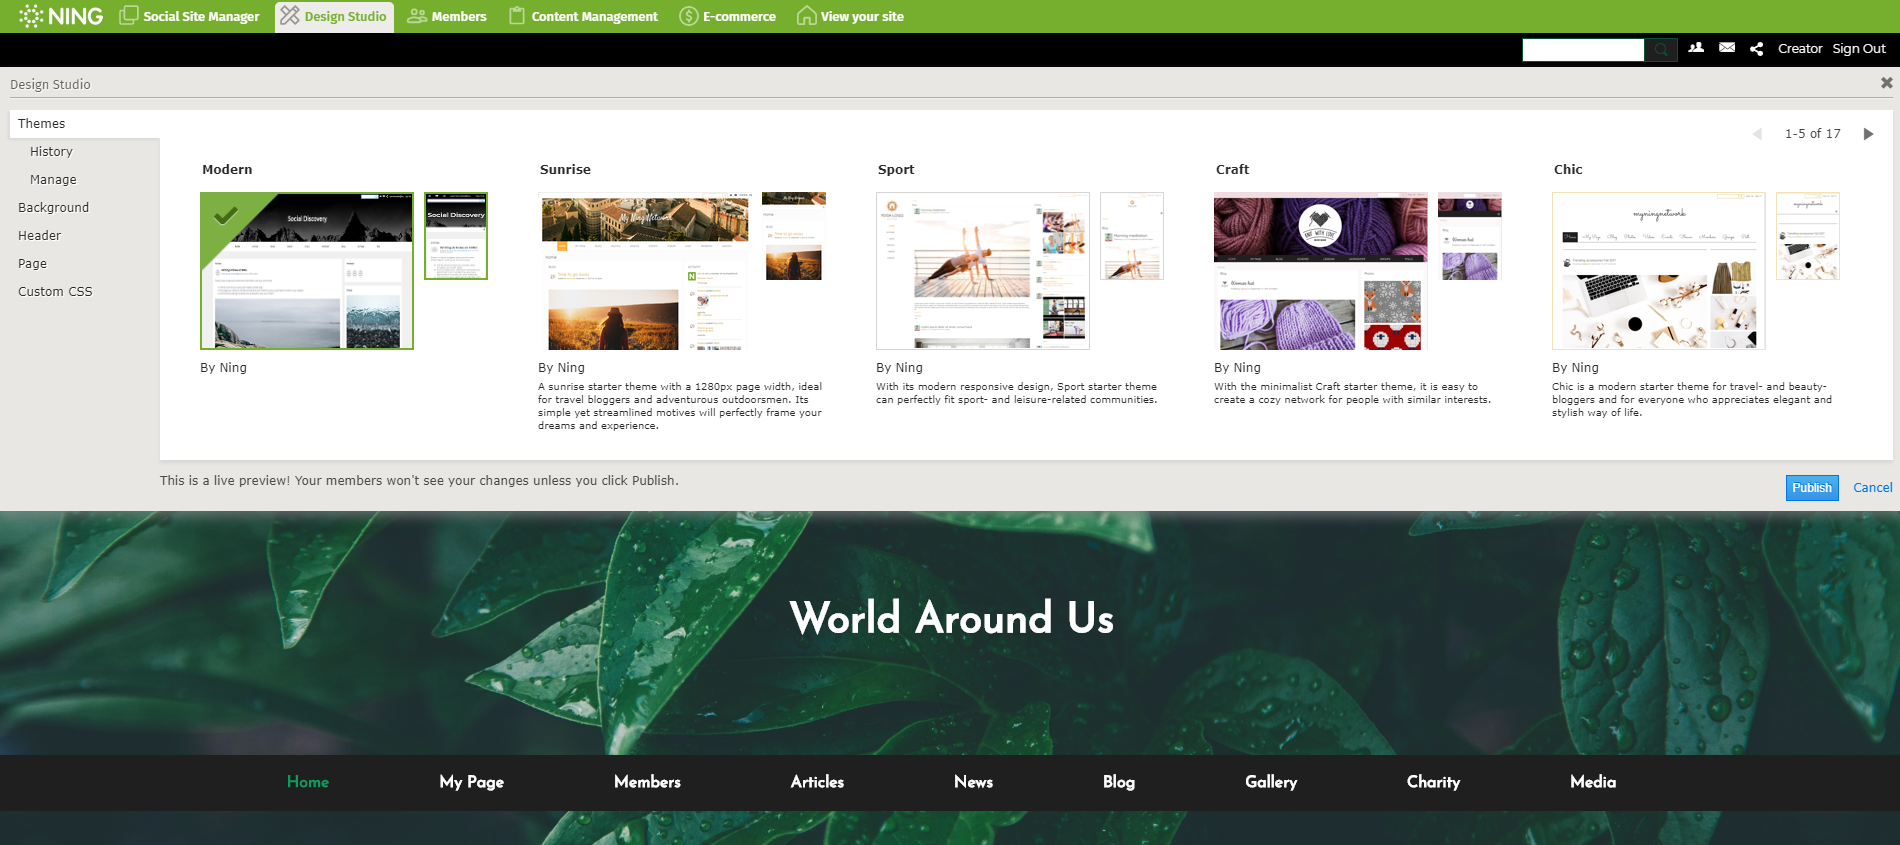
Try to think of a color palette or design you can use as the background and body color for your social network. Then, choose a theme in the Design Studio. If you’re planning on adding a custom-made header, a basic theme without a lot of additional graphic elements is a good place to start.
Adding the Header Background Image
The next step in creating a custom header is actually creating the image you’d like to use as the header background. For simple headers, you’ll want an image that your network name and tagline can live on top of and still be read. Use an image that encompasses the theme of your social network in one glance. Get as creative as you like. If you’re intimidated by designing graphics, start with something basic and improve it later.
Once you’ve created and saved the header image on your computer, you’re ready to add it to your social network:
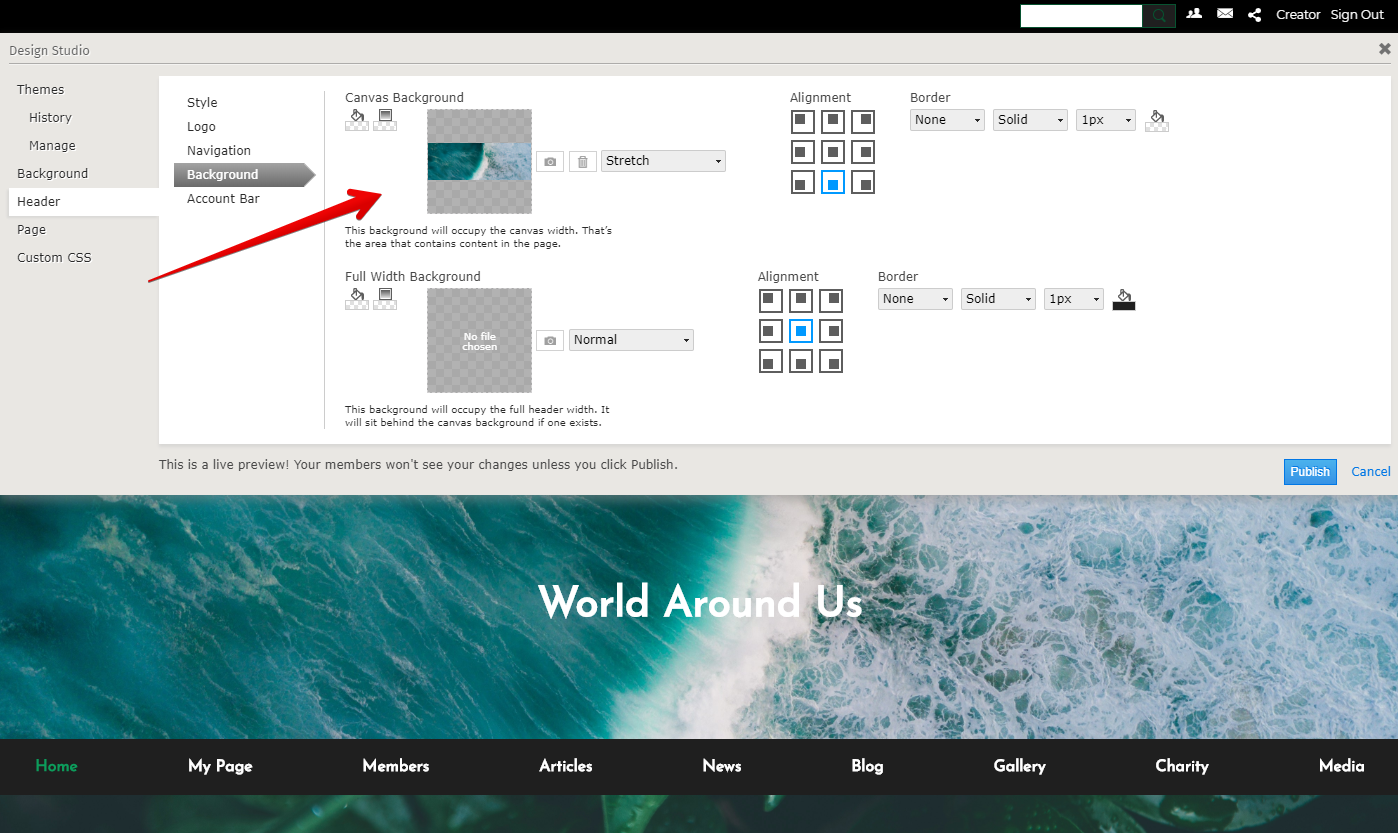
- Open the Design Studio panel (just click on the green administrative toolbar to expand your options and select the second icon).
- Click on “Header”.
- In the Background Image area, click on the “Upload” link and choose the image you want to upload.
- You’ll see a live preview of this new header on your network below the panel.
- Publish when you’re ready.
Logo, network name, or just an image?
The default for your header is that your network name will appear. You can easily remove your network name from the “Header” section of your Design Studio by clicking on the “Hide” text that appears beside “Network Name”. You can add a Logo Image from this same panel in the Design Studio if you want that to appear in the header in addition to, or instead of, a network name.
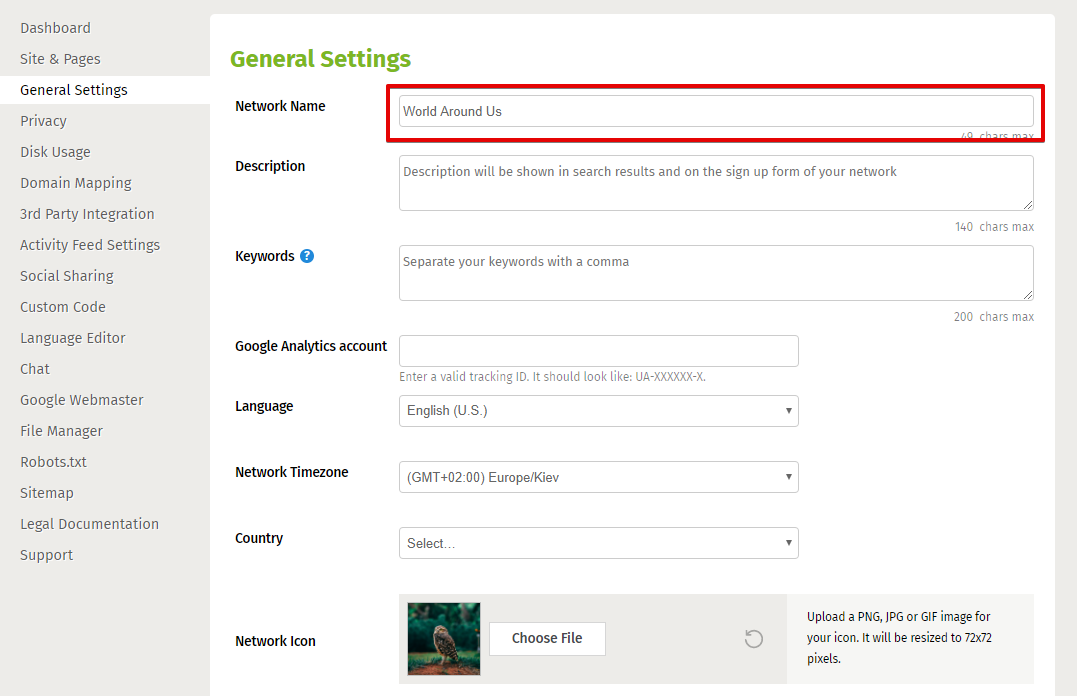
Your network name is determined in your network’s General Settings section of the dashboard. To get there, just click on the first icon in the green administrative toolbar to head over to the Social Site Manager. Find the “General Settings” link and click on that. You’ll edit your network name in the “Site Name” field. Be sure to save your changes when you’re done!
No Photoshop Skills? Try a Free Online Image Editor
Don’t have skills with Photoshop or other image editors? Don’t worry. There are a ton of free online image-editing services that will let you create an image to use as your header. One of our favorites is Pixlr. It offers an easy-to-use Photoshop-like interface. After you’ve created your header, you can also experiment with their Pixlr-o-matic service, which lets you try out all kinds of neat filters on your images (kind of like you would using Instagram). Highly recommended!
You can also use a program like Gimp (free for Windows), Seashore (free for Mac), Photoshop or even a free Web site like Web Resizer to crop or resize the image’s width to 955 pixels.