As a Network Creator, you can create a Facebook App that allows members to post to Facebook directly. Setting up a Facebook App is a great way for members to share content from your Ning Network!
Creating your Facebook Sharing App To get started with creating your Facebook Sharing app, navigate to the dashboard from your My Network or Manage tab. Click the “Facebook Integration” link under the Tools heading (or click the Facebook icon if you are showing icon shortcuts).
This will take you to your Facebook Integration page.
Click on the “Facebook” link to open up a new tab where you will be directed to the Facebook Apps page. If you aren’t immediately directed to this screen, paste this URL into the address bar: https://developers.facebook.com/apps.
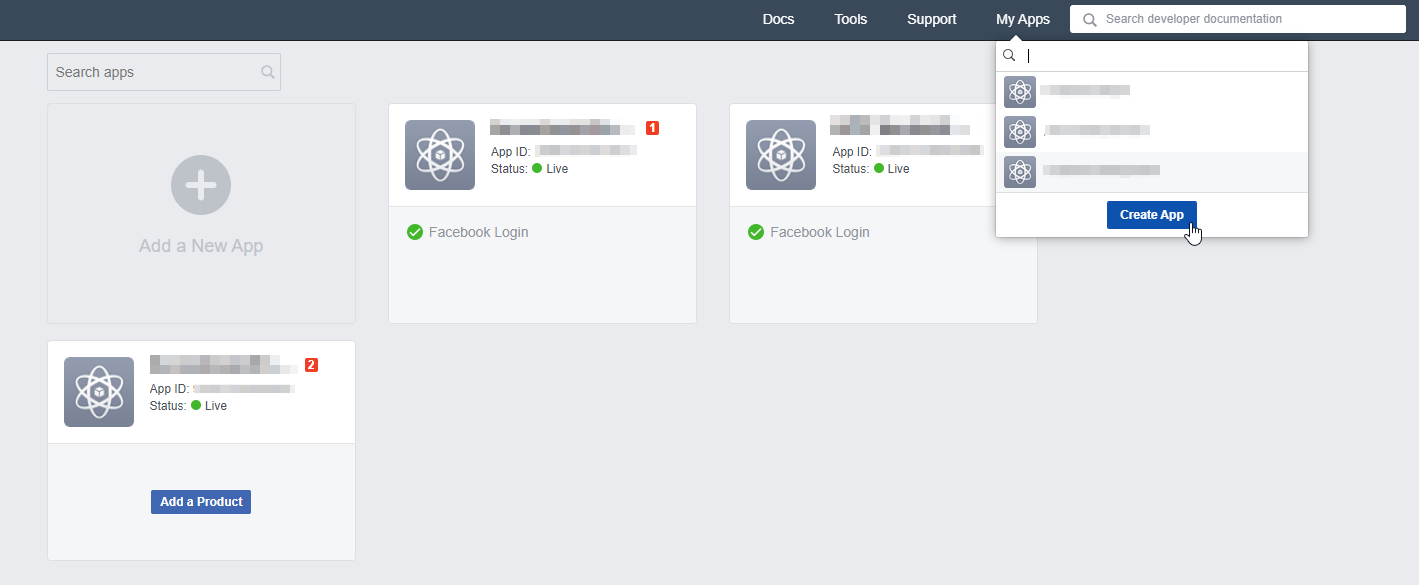
Click on “My Apps” in the menu and then select “Create App” from the drop-down menu.
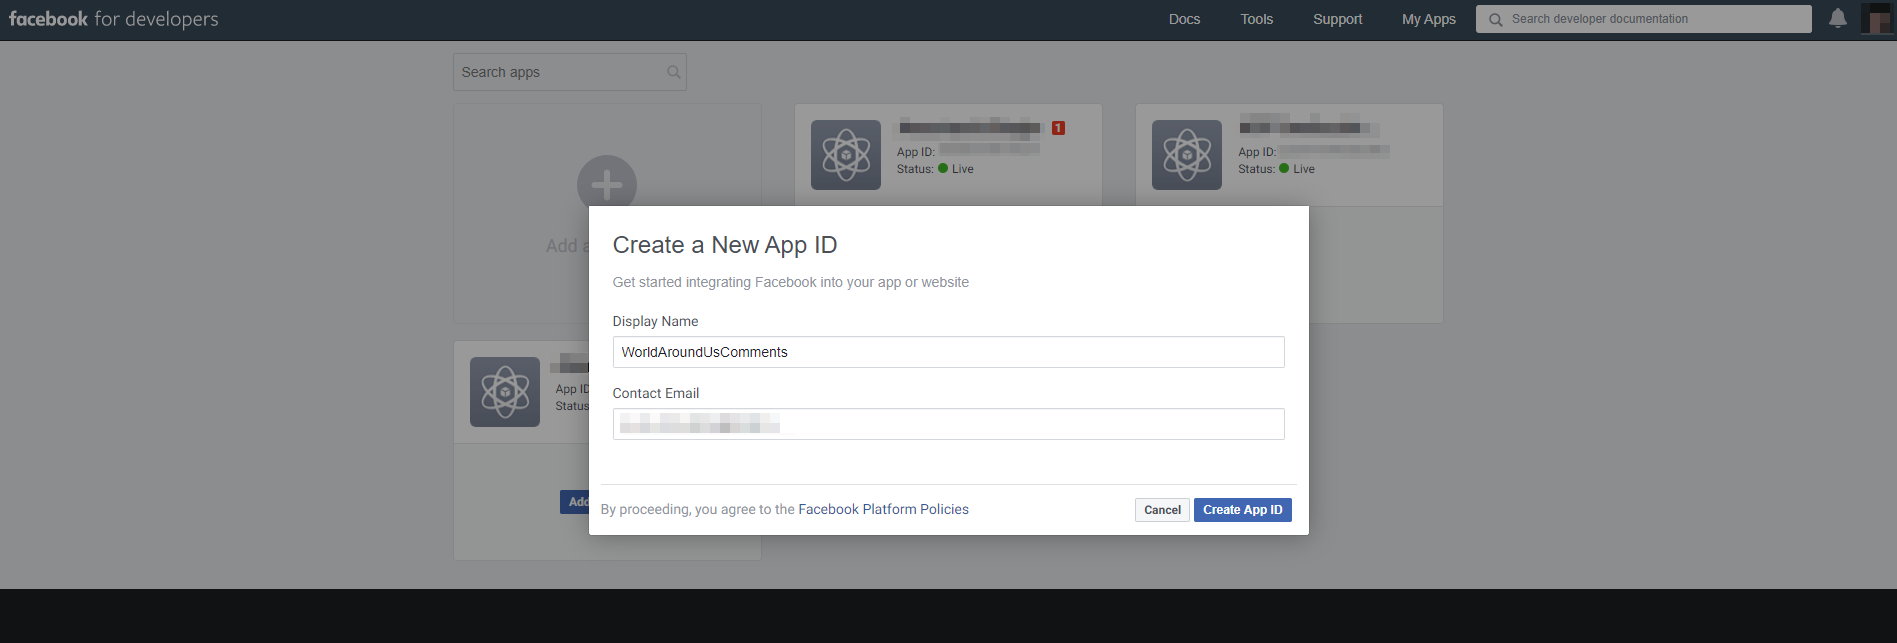
On the next screen, you should choose the name of the app (for example, you can use your network’s name), don’t forget to enter contact email address, and press “Create App ID” after you’ve done that.
You’ll be prompted to fill out the Security Check Image Captcha in the next pop-up window. After filling out the Captcha and clicking “Submit,” you’ll be taken to your Facebook App’s Dashboard page.
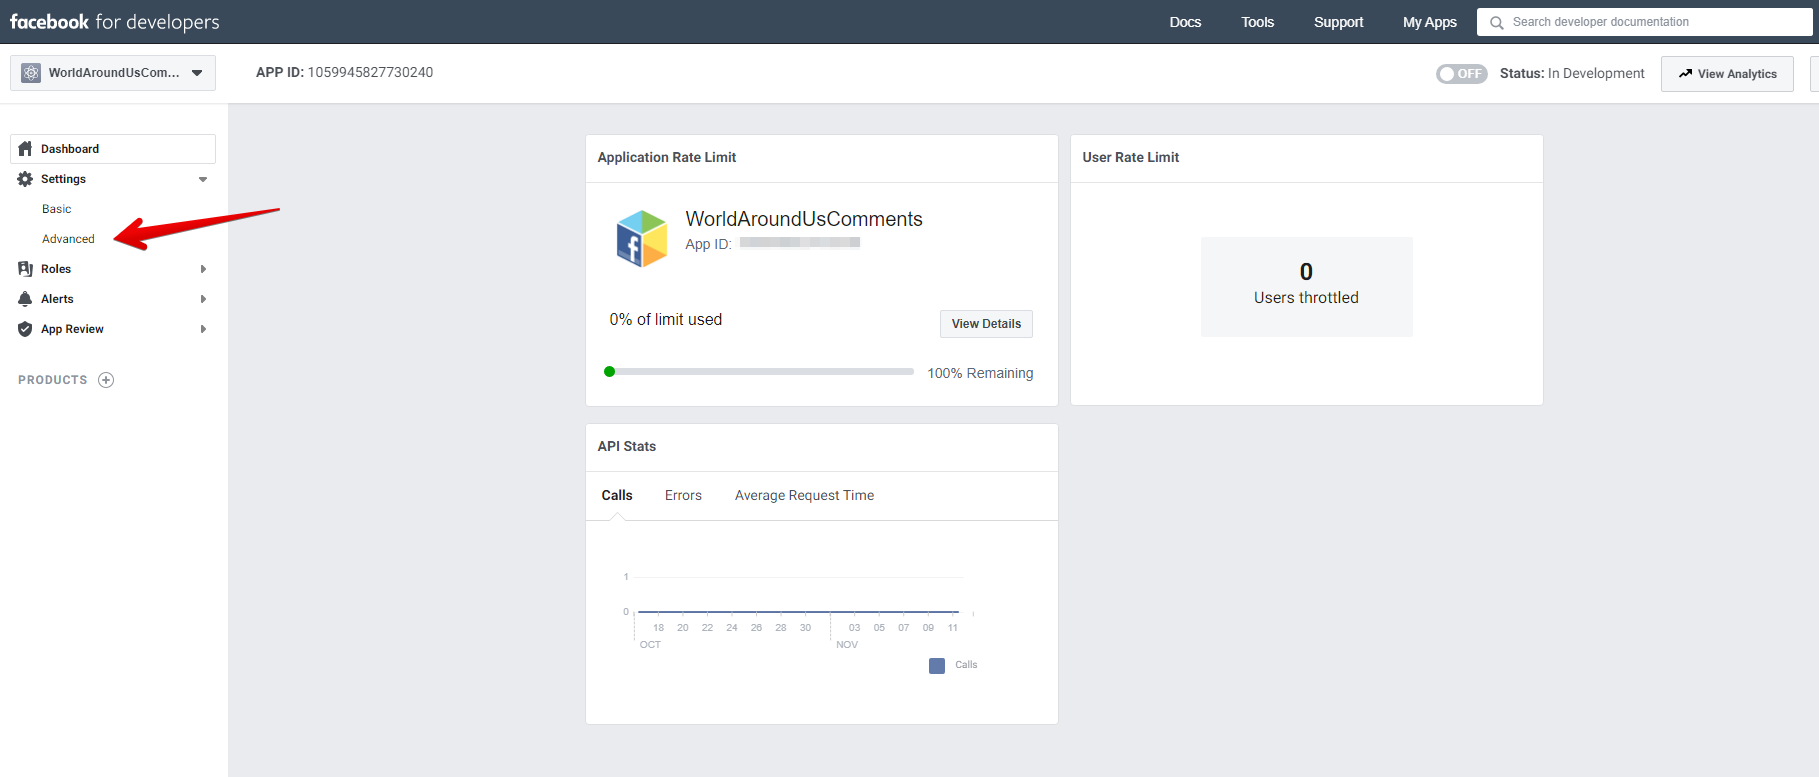
At the left side of the screen you will see the menu with a “Settings” tab, please select it and go to the “Advanced” settings page.
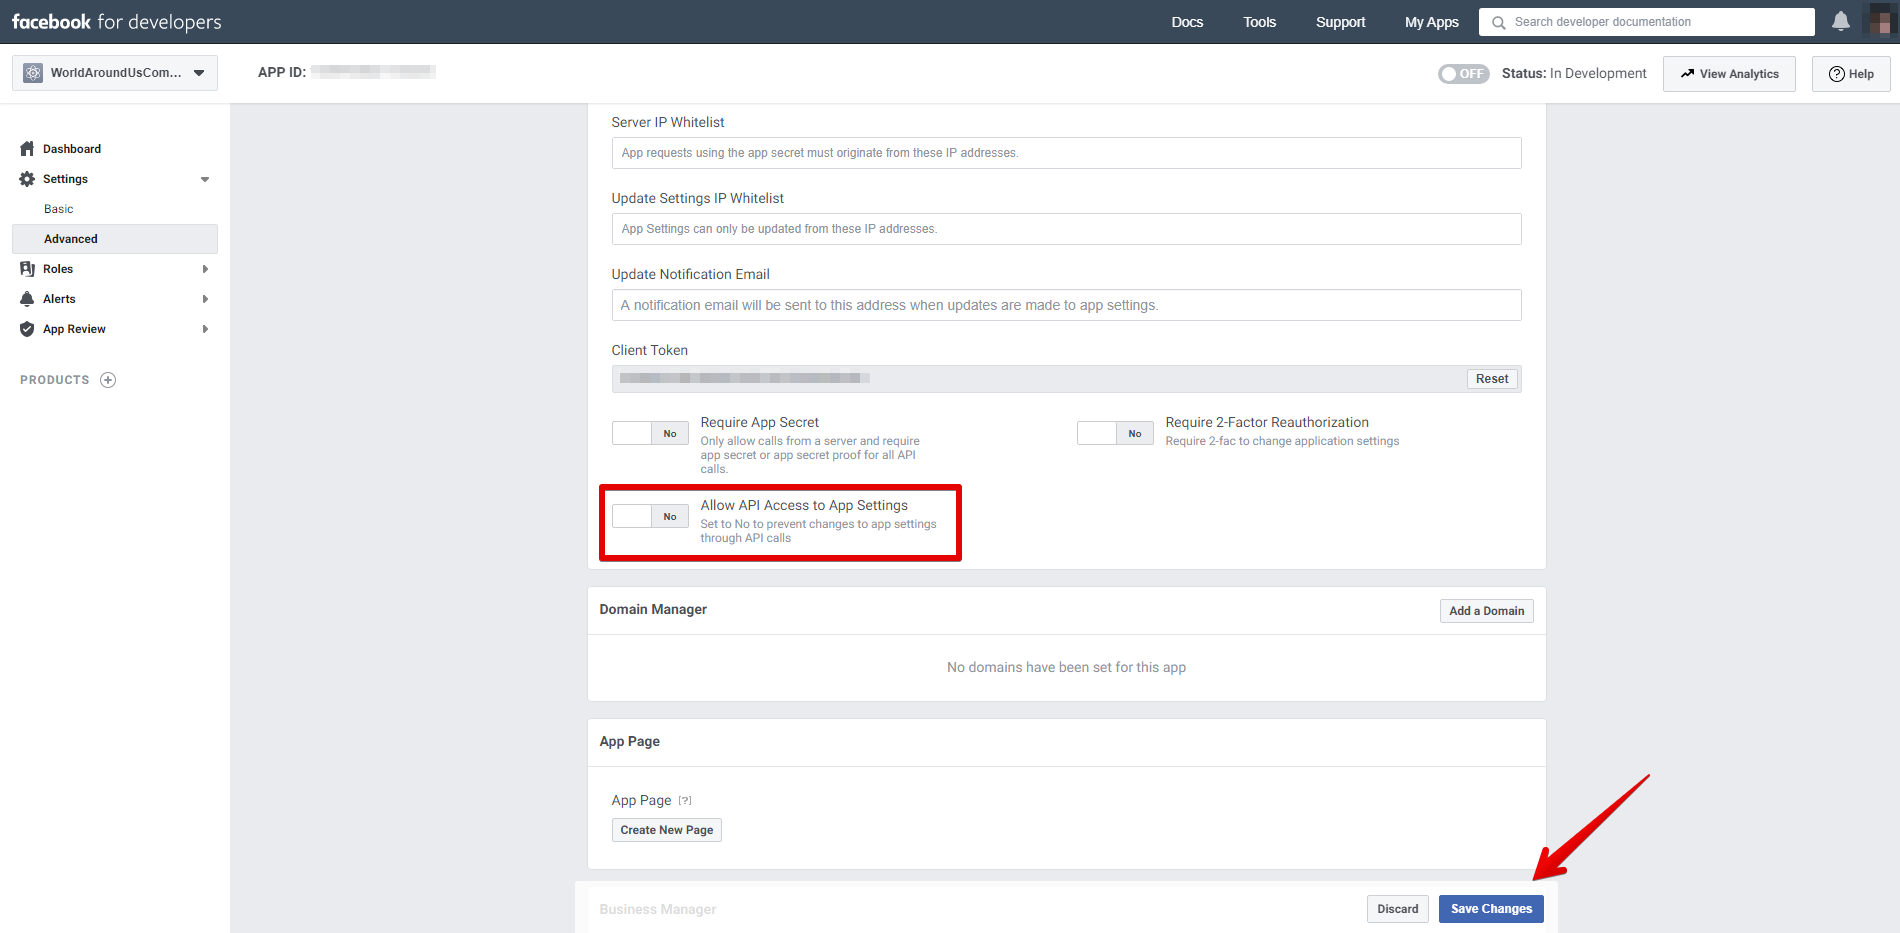
Once it is opened please scroll down and find “Allow API Access to App Settings” and turn it on. Please don’t forget to save changes as well.
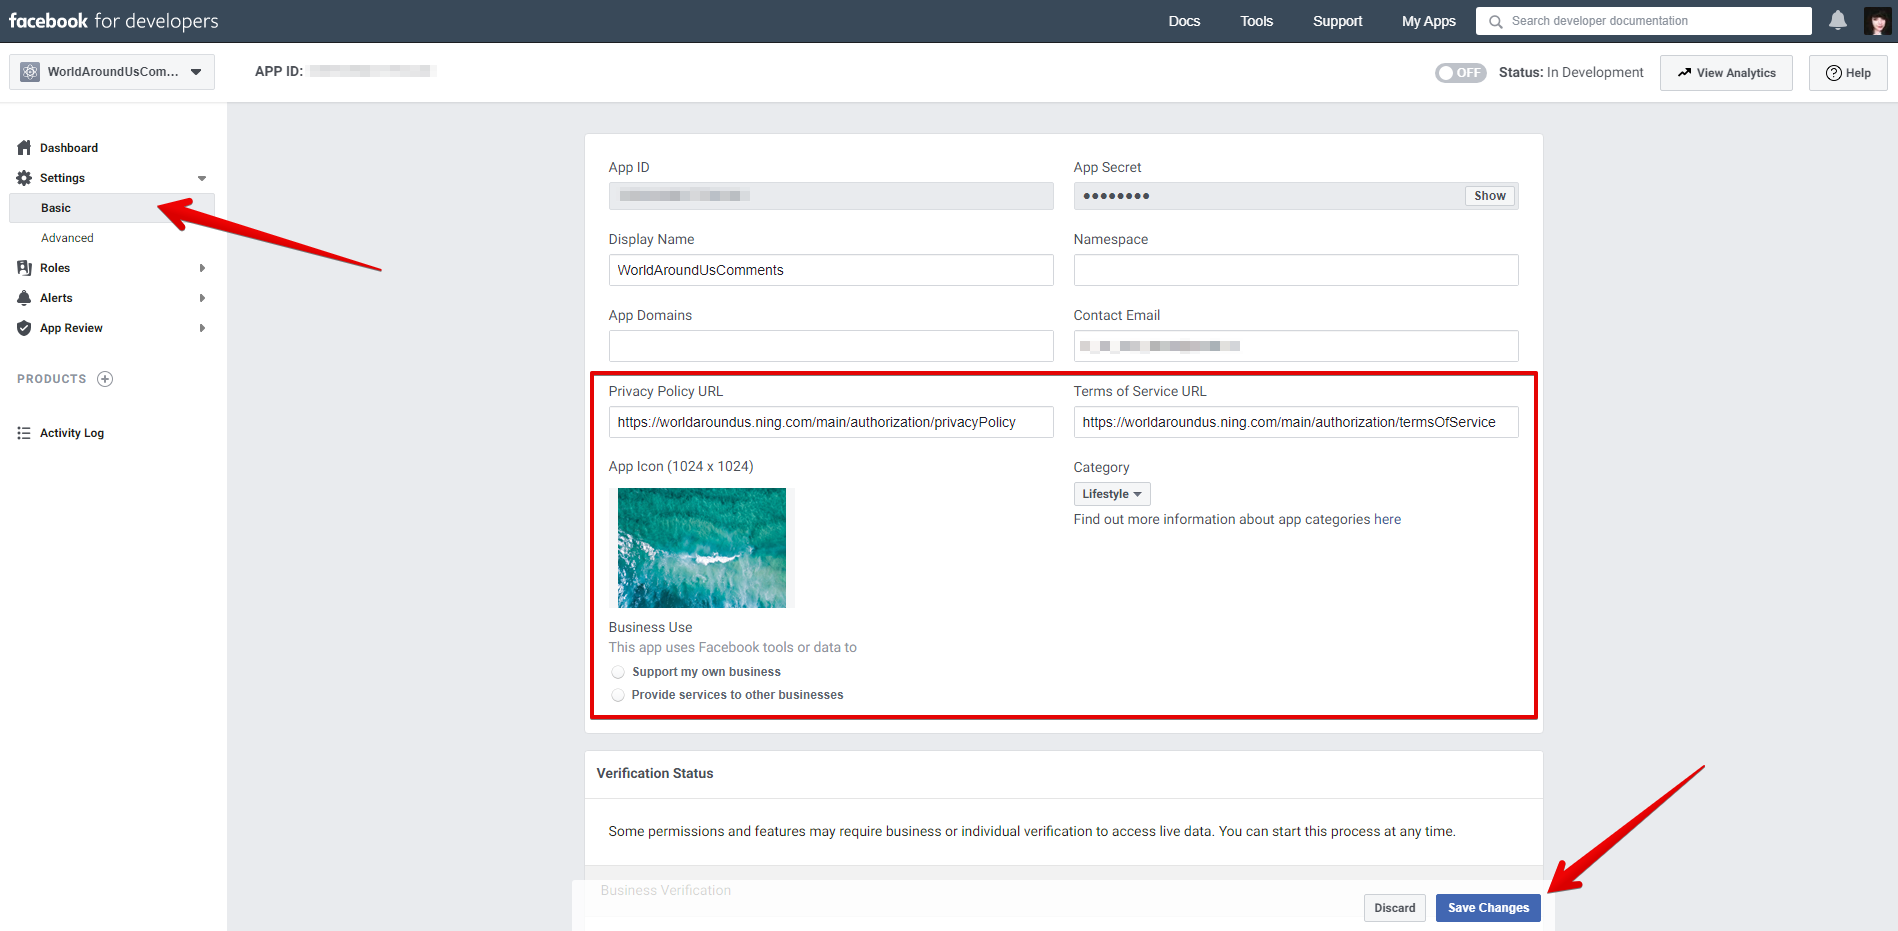
You are halfway there, switch to the “Basic” settings of your app and fill out the outlined info: upload an icon for your application, select a category and provide links to your Terms of Service and Privacy Policy. You can use the following links, but do not forget to remplace “example” with the subdomain of your NING network.
https://EXAMPLE.ning.com/main/authorization/privacyPolicy https://EXAMPLE.ning.com/main/authorization/termsOfService
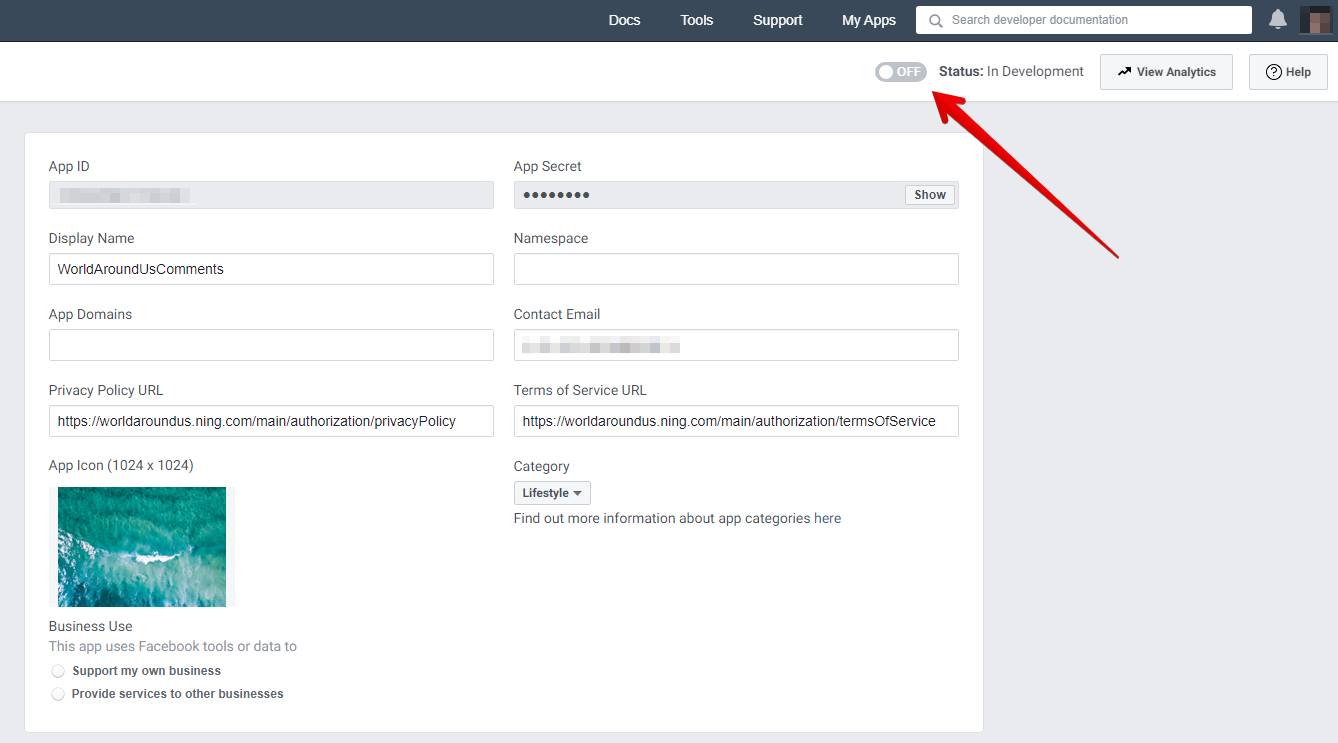
Your app is almost ready, finish by toggling status of the app “ON” and copy App ID with App Secret. You’ll be prompted to enter your Facebook account’s password in order to display this information.
Paste it to the corresponding fields on you network and click “Save”.
Now you can share content with your Facebook friends from your Ning Network!