Creating member categories and assigning members to categories is a great way to visually identify members on your network, to send a broadcast message to a specific category of members, or to even give members of a particular category permission to contribute content to or view content in a particular feature you’ve created.
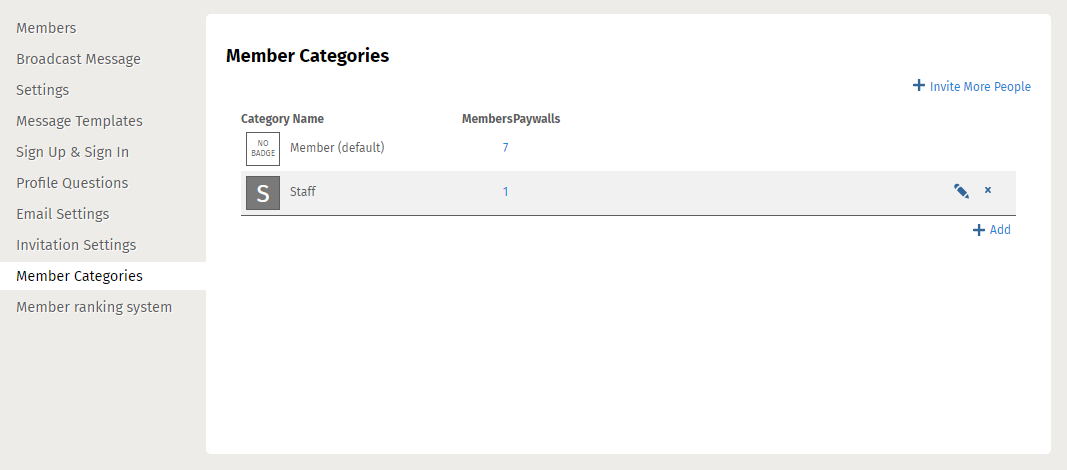
Categorizing your members is easy. By default, all members belong to the “Member” category. This category can’t be edited or deleted. By creating other categories, you can add members to other categories as you see fit. To get started, click on the green administrative toolbar and click on the member icon to head to the Member Management panel in your dashboard. Head to the Member Categories page from here.
To create a new category, click on the “Add” link. That will take you to this page.
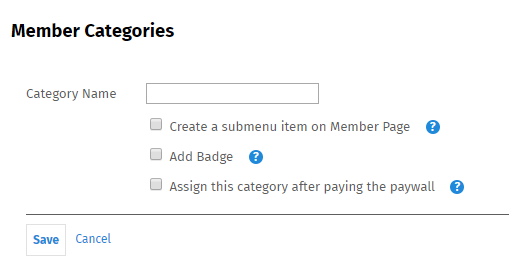
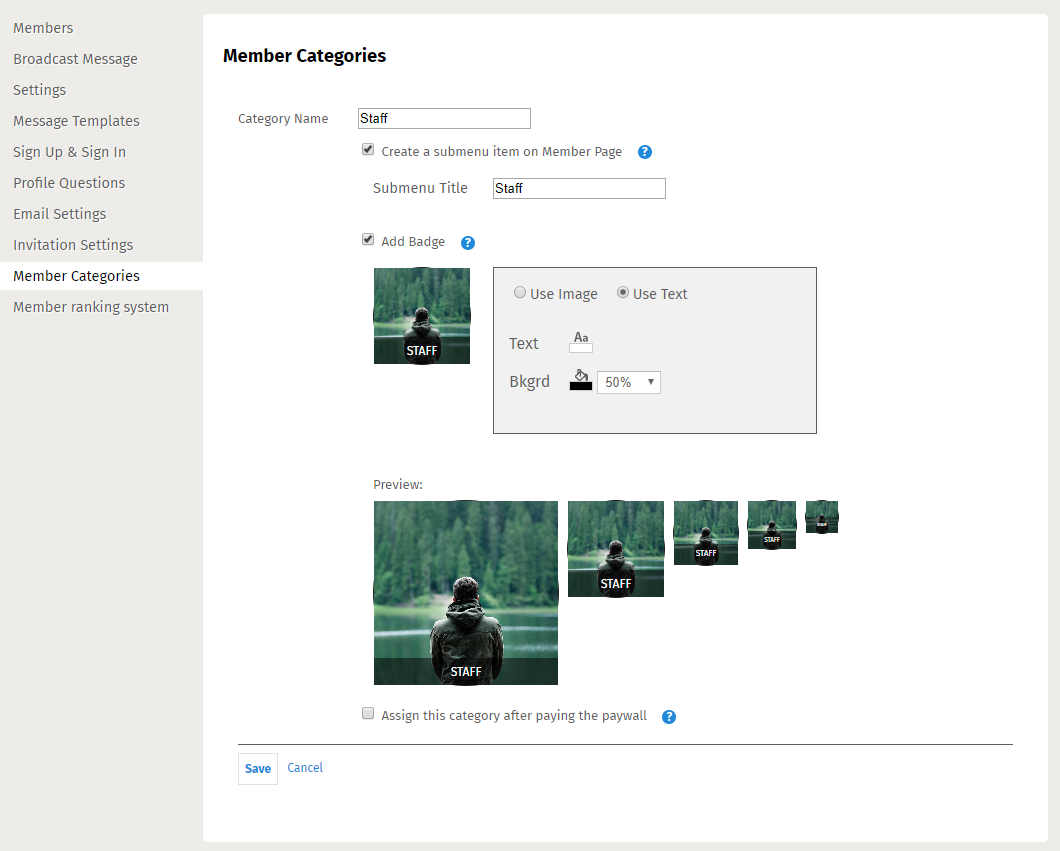
Here, you will be prompted to enter a Category Name. You will also be given the option to add a submenu item for your new category on the Members page. A submenu item is a link that appears on your Members page between the existing “All Members” and “My Friends” lists, and gives members the option of viewing just those members who belong to a particular category. You can add up to 10 member categories as submenu items on the Members page.
The badge can be either text- or image-based. If you choose to add a text badge, you can adjust the color opacity of the overlaid text. Text badges will be based on the category name, and can be placed across the top or the bottom of a member’s profile photo.
If you choose to make the badge display as an image, you won’t get opacity controls but you will have control over image placement. You can also upload up to 50 of your own custom badges. In order to have them display properly, we recommend the images be 96 x 96 pixels.
Different-sized thumbnails will display beneath your selection, in order to show you how this badge will look on a profile photo at various sizes around the network. When you are done creating your category and badge, click “Save”. You can then start adding members to this category in your Members tab in the Members Management page.
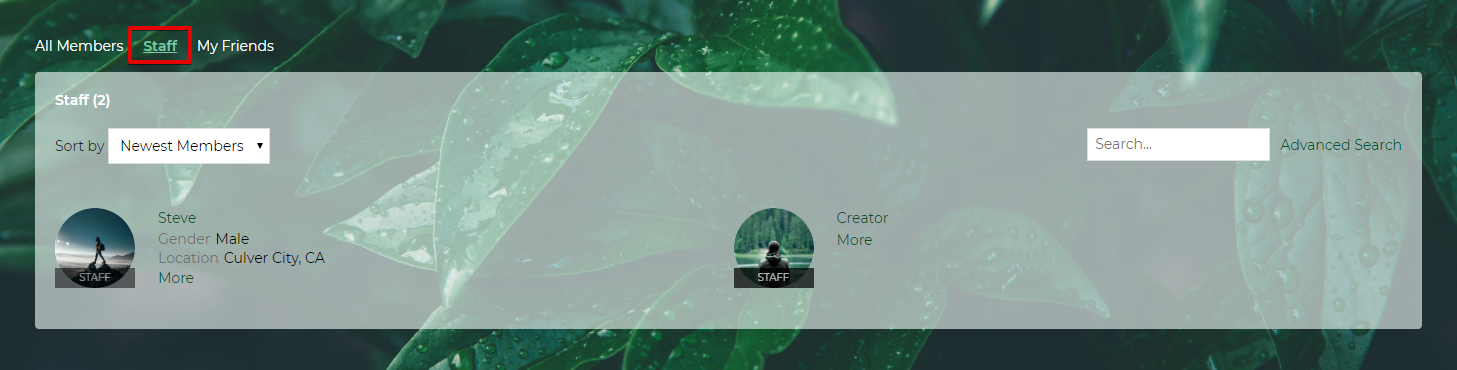
If you have created a submenu item for your category, you’ll see that show up in your Members page.
You can create up to 50 member categories.
Permissions
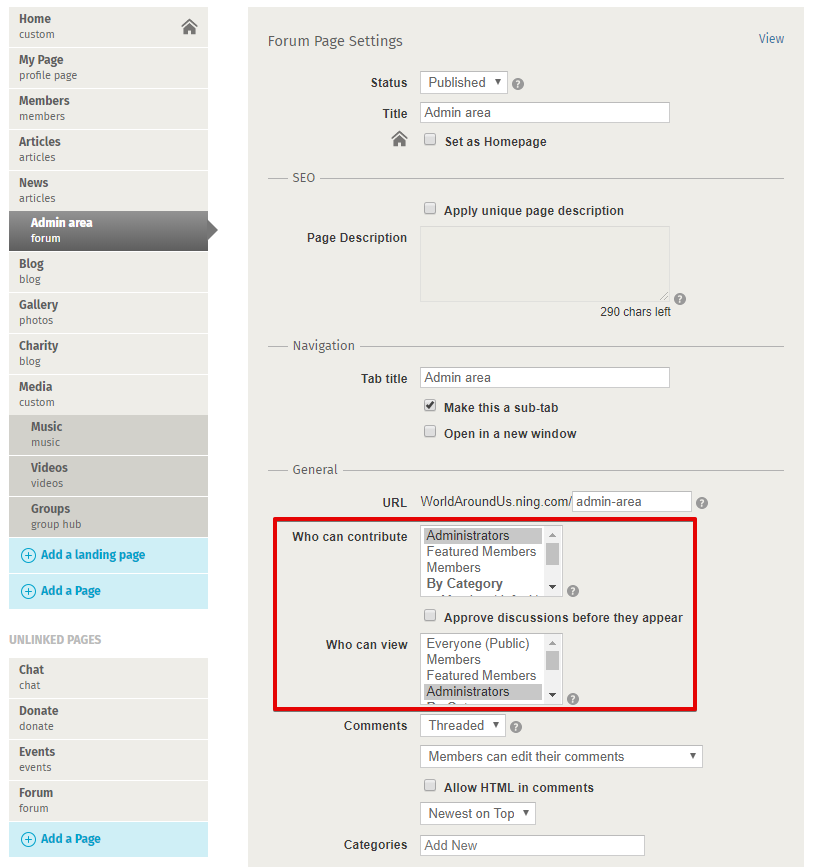
You can also use the Member Categories feature to assign contribution and viewing permissions to members. For administrators on your network, you can actually already do this by first appointing them to the role “Administrator” (see “Appoint Administrators” for more information), and then creating a Forum feature instance through your Site & Pages manager, with contribution and viewing permissions granted to administrators only.
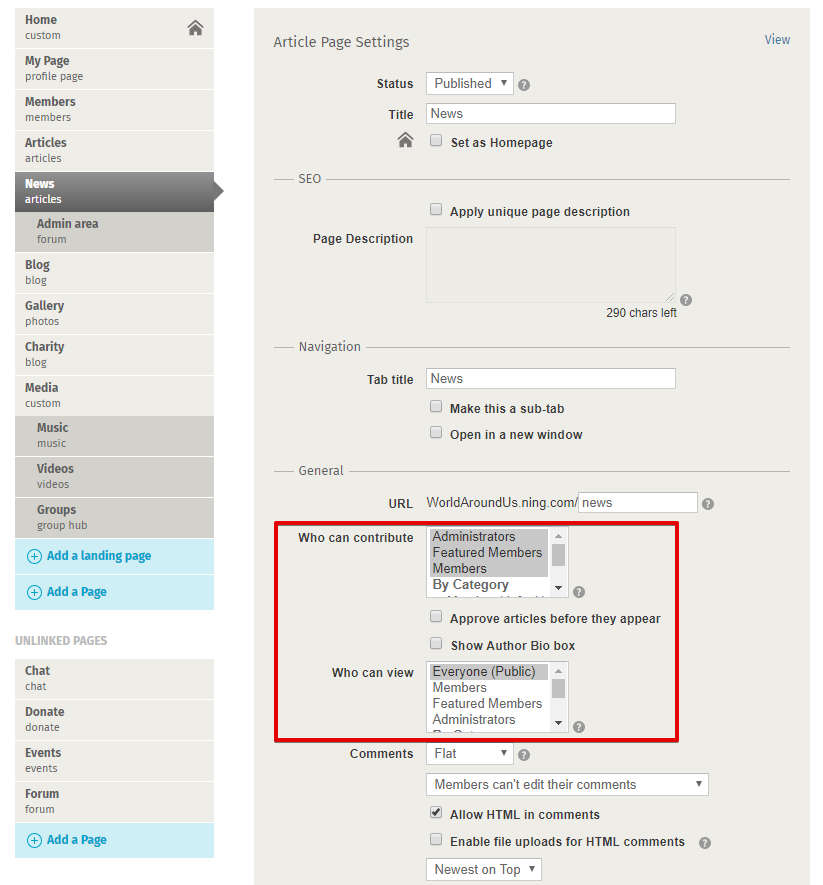
To create similar spaces or content for a select bunch of members, you can first create a member category, assign the desired members to this category, and then create or edit a feature in the Site & Pages manager so that the contribution and / or viewing permissions are limited to this member category.
If you should want to delete a member category at any point or simply find you’ve run out of categories, just go to your Member Management panel and click on the “Member Categories” link. Click on the “X” associated with the member category you would like to delete, and you’re set! Once a member category is deleted, all members listed in that category will revert back to the default “Member” category.