Create a Facebook App to enable your members to sign up using their Facebook account. Follow the detailed instructions below.
You must be registered as a developer on https://developers.facebook.com
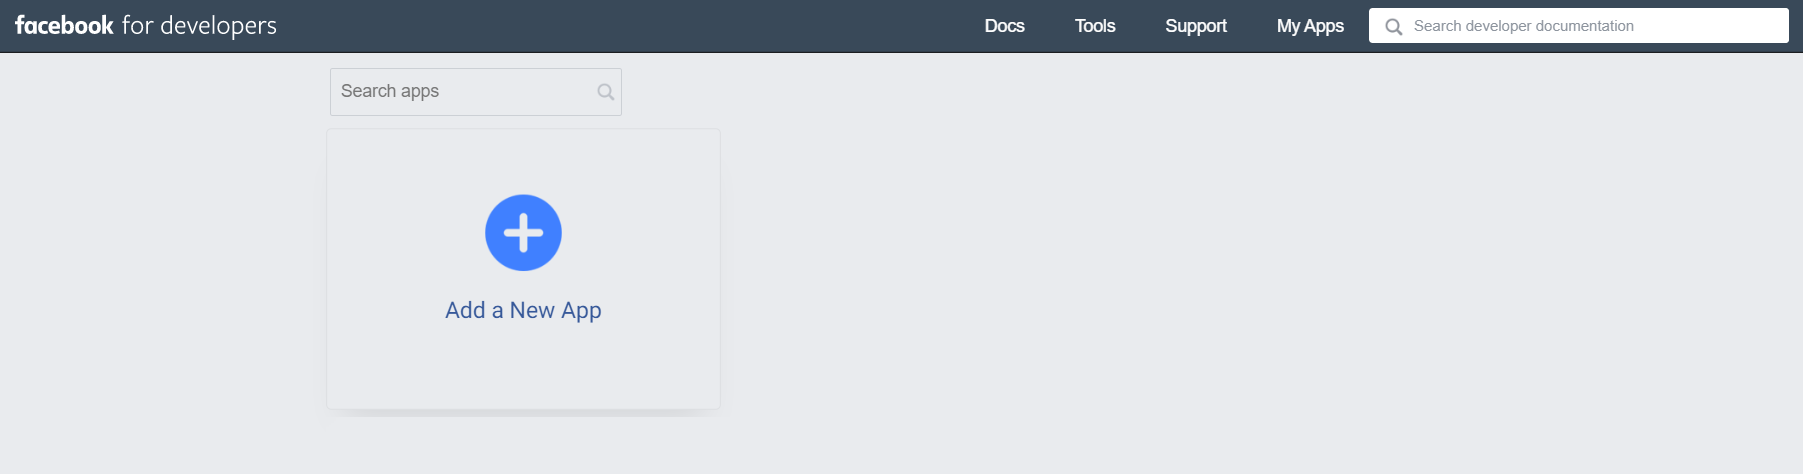
- Go to https://developers.facebook.com/apps;
- Click Add a New App in the top left corner of the screen;
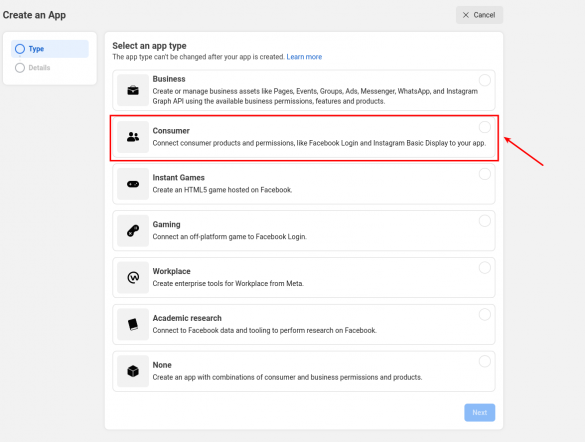
- Select a “Consumer” app type to connect the Login Facebook feature.
- Fill in the Add an app name and App contact email fields and click the Create app button;
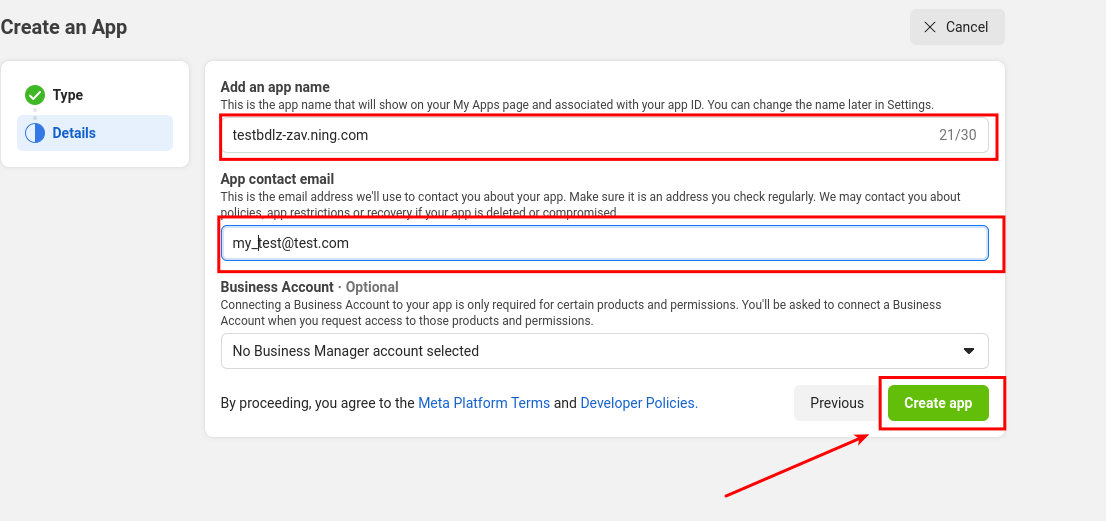
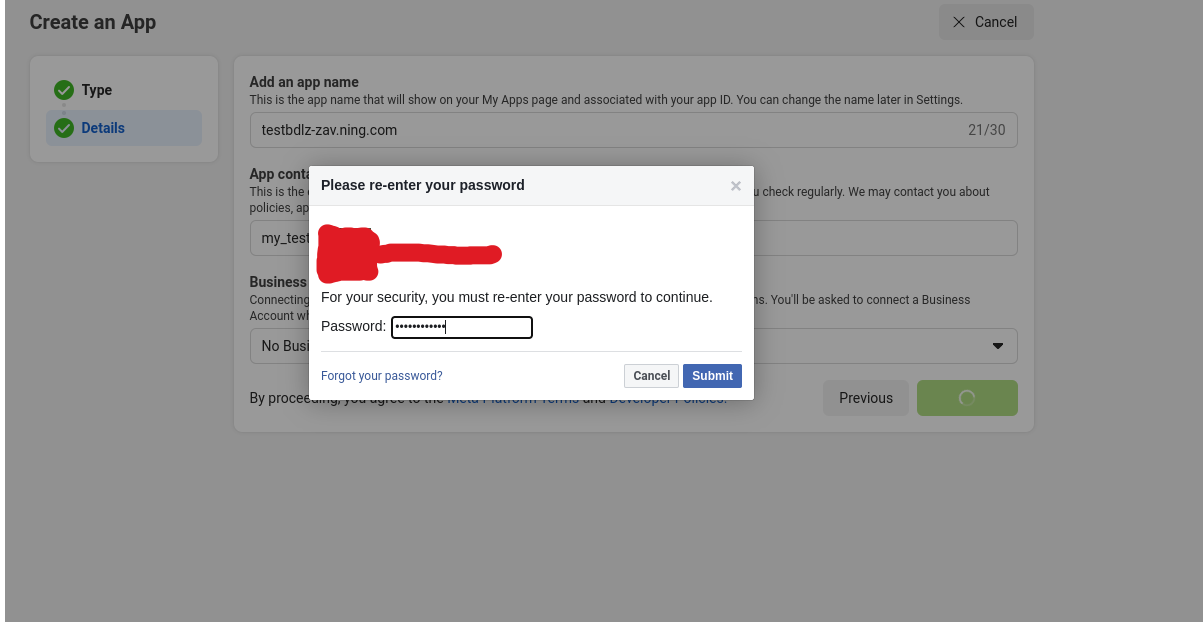
- Enter your Facebook login password.
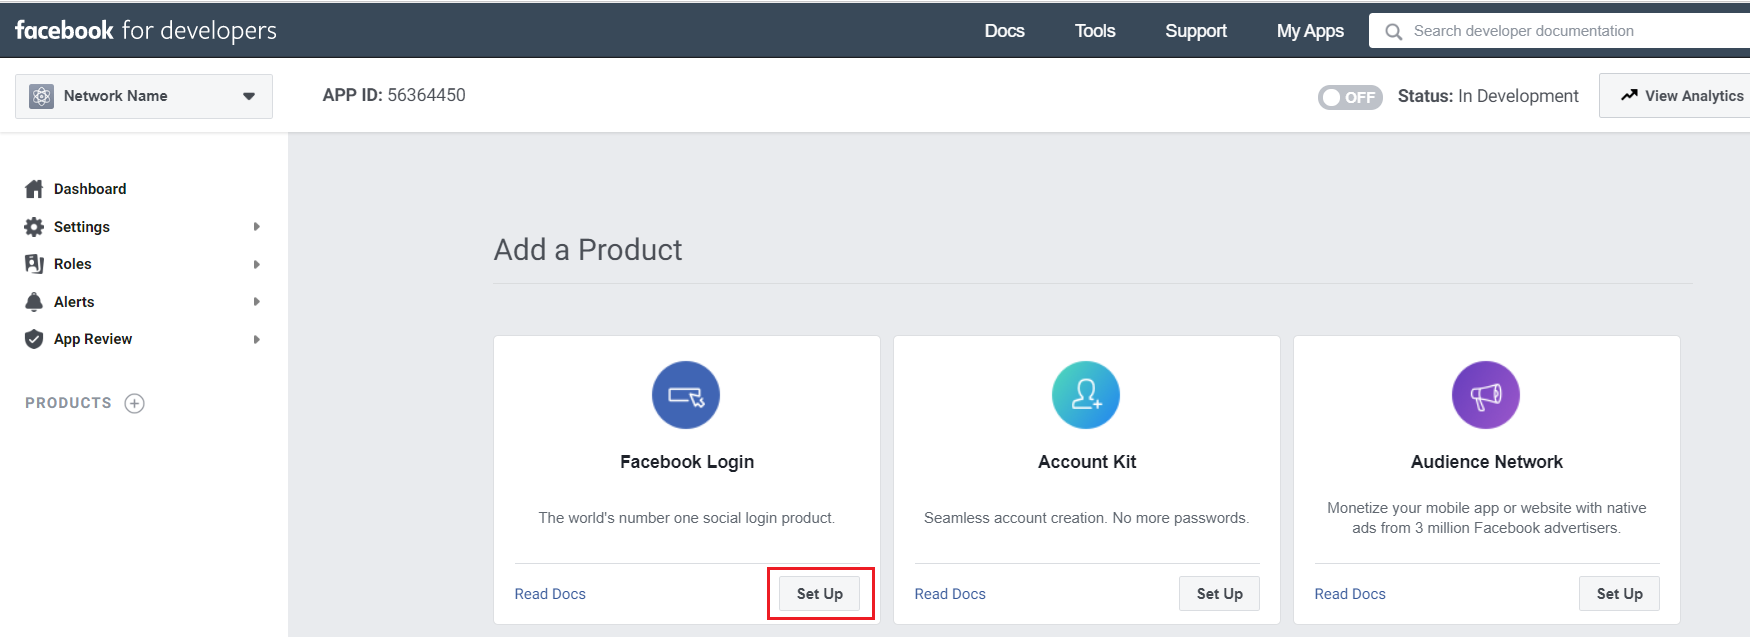
- Click Set Up on the Facebook Login card;
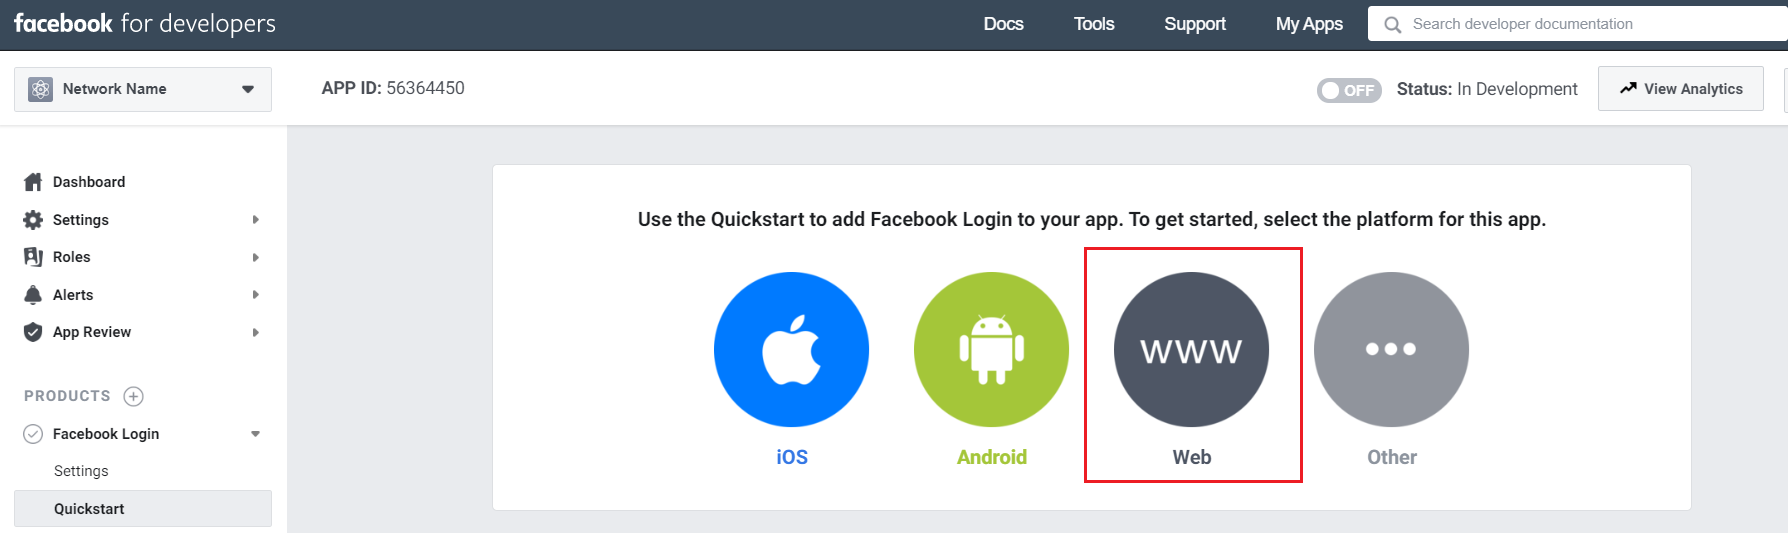
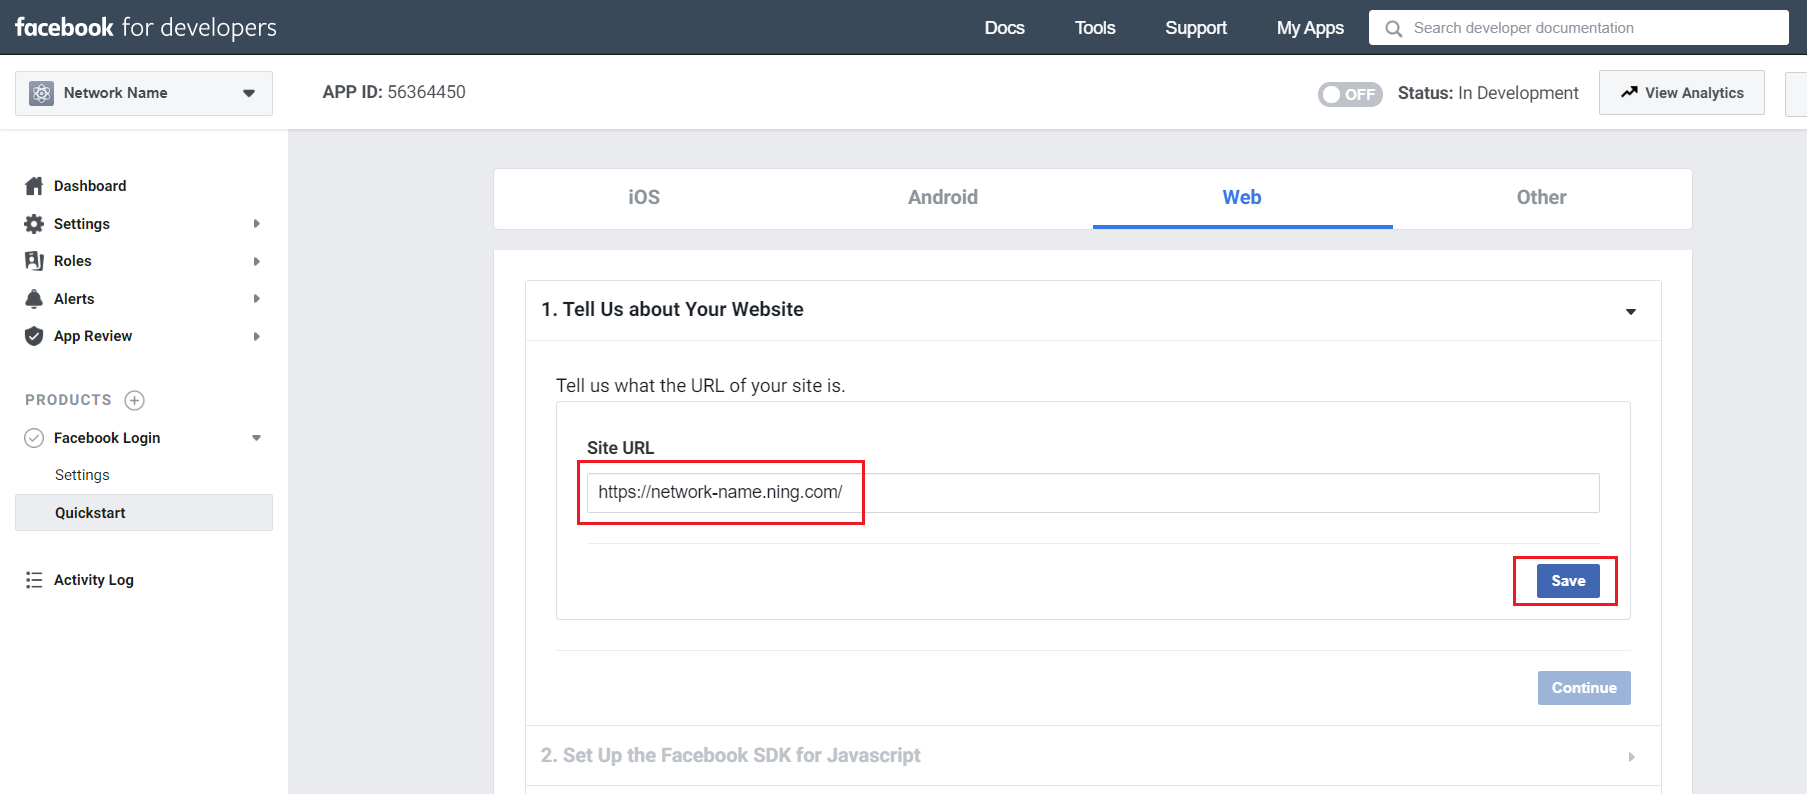
- Select the “WEB” platform for your app;
- In the Site URL field, insert your network URL (e.g., network-name.ning.com) and save the changes;
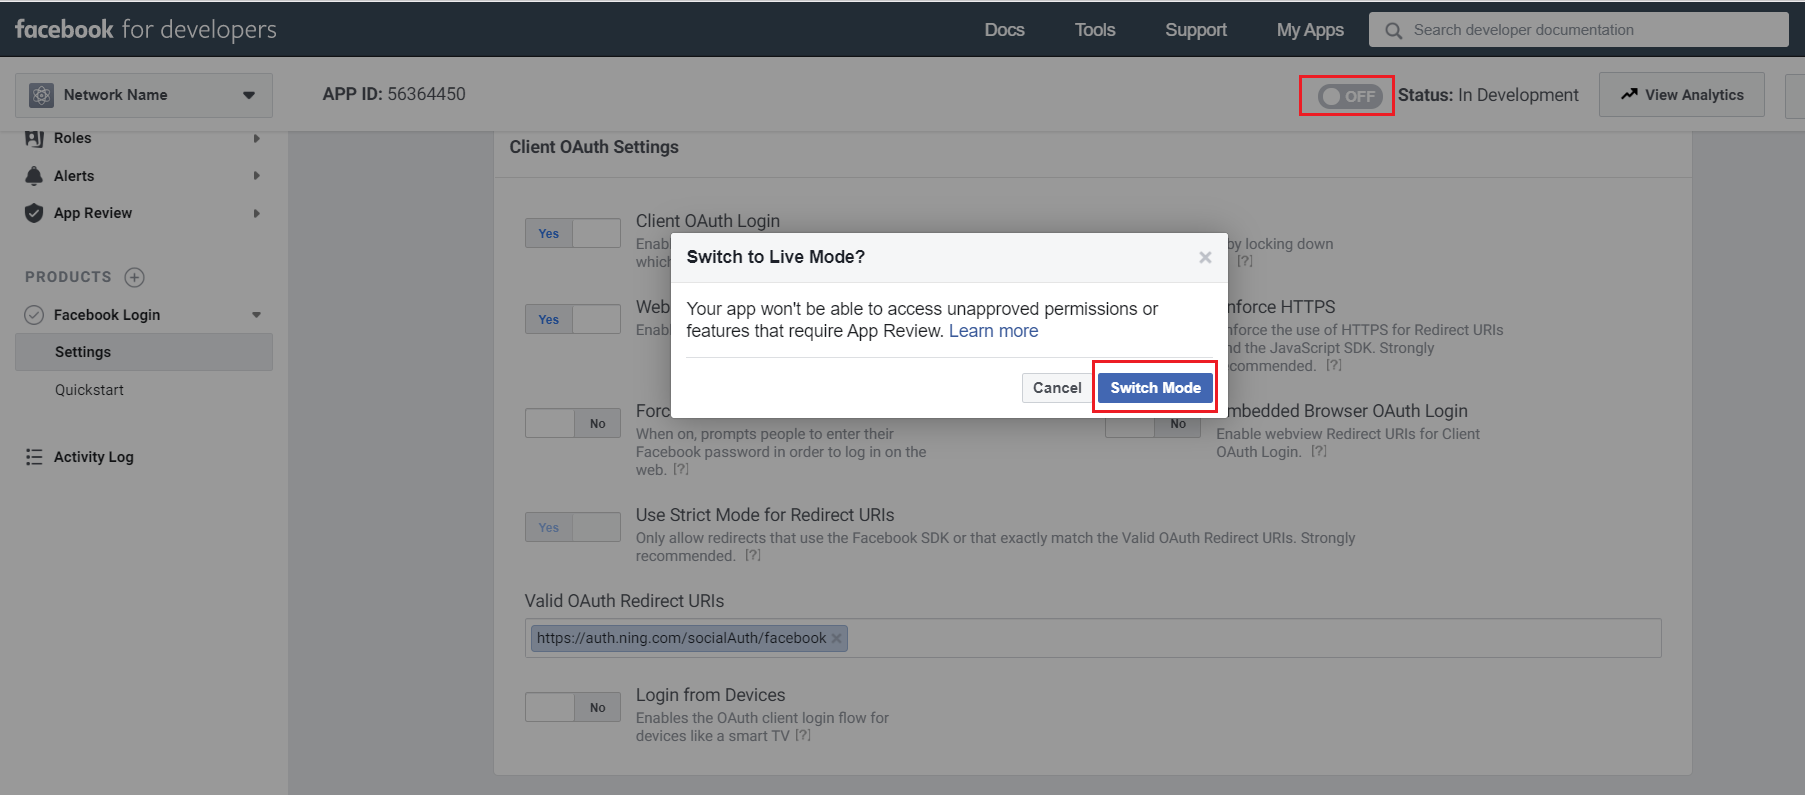
- Go to PRODUCTS > Facebook Login and select Settings;
- Insert the following URL in the Valid OAuth Redirect URIs field:
https://auth.ning.com/socialAuth/facebook
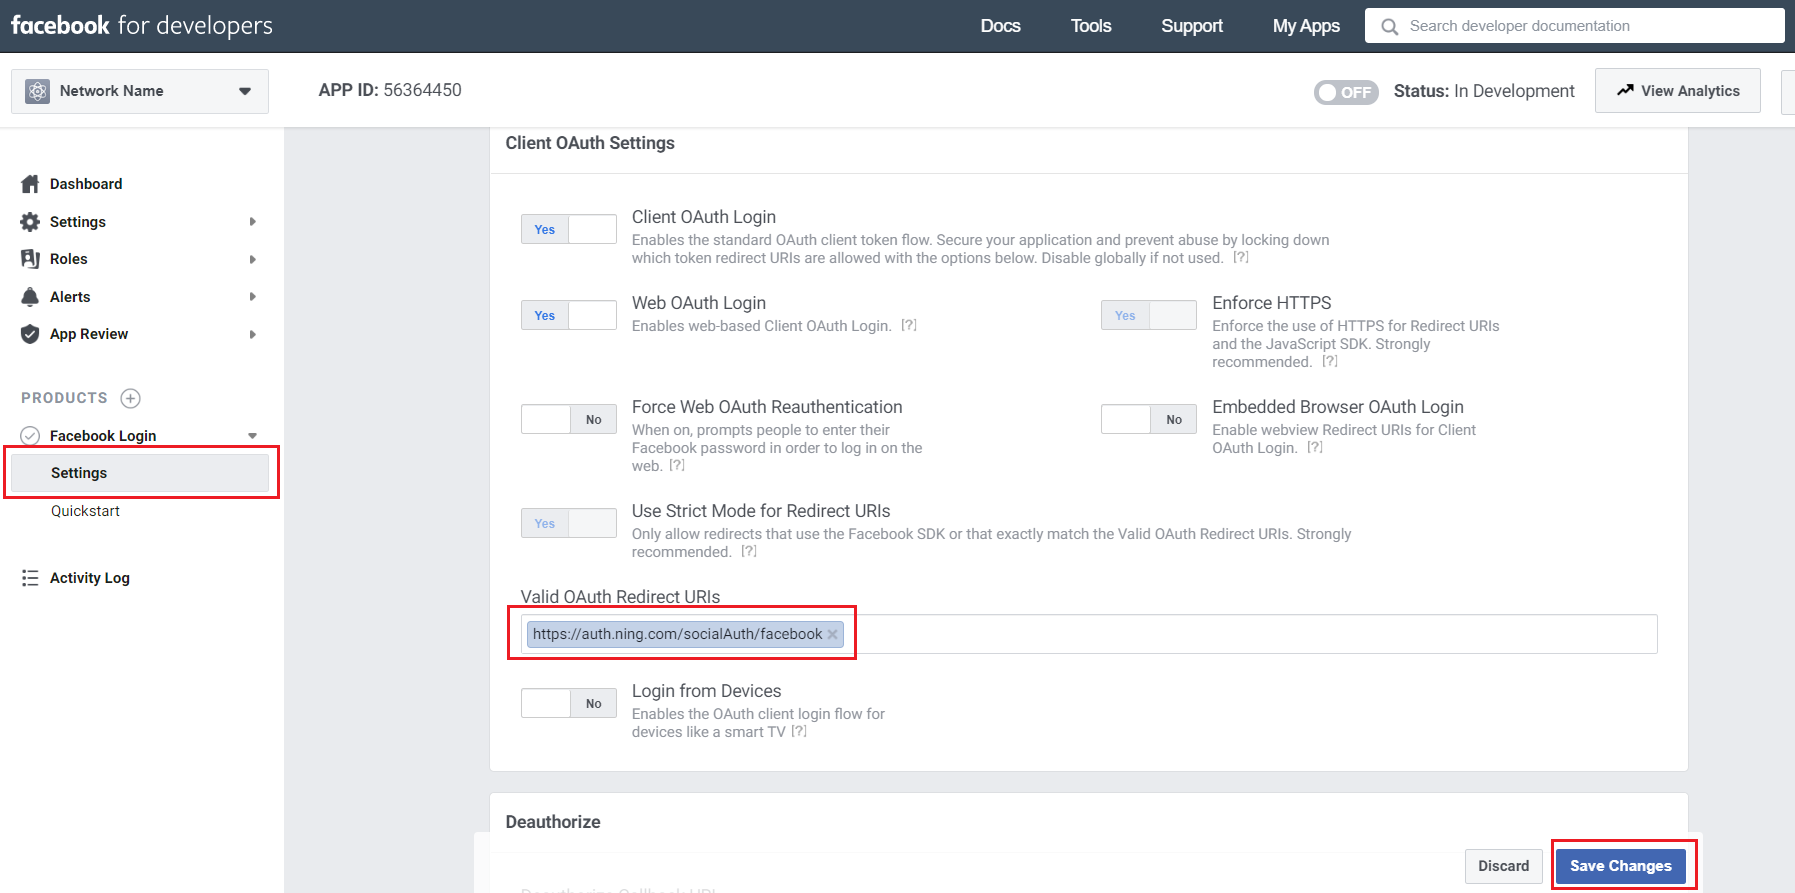
- Save the changes;
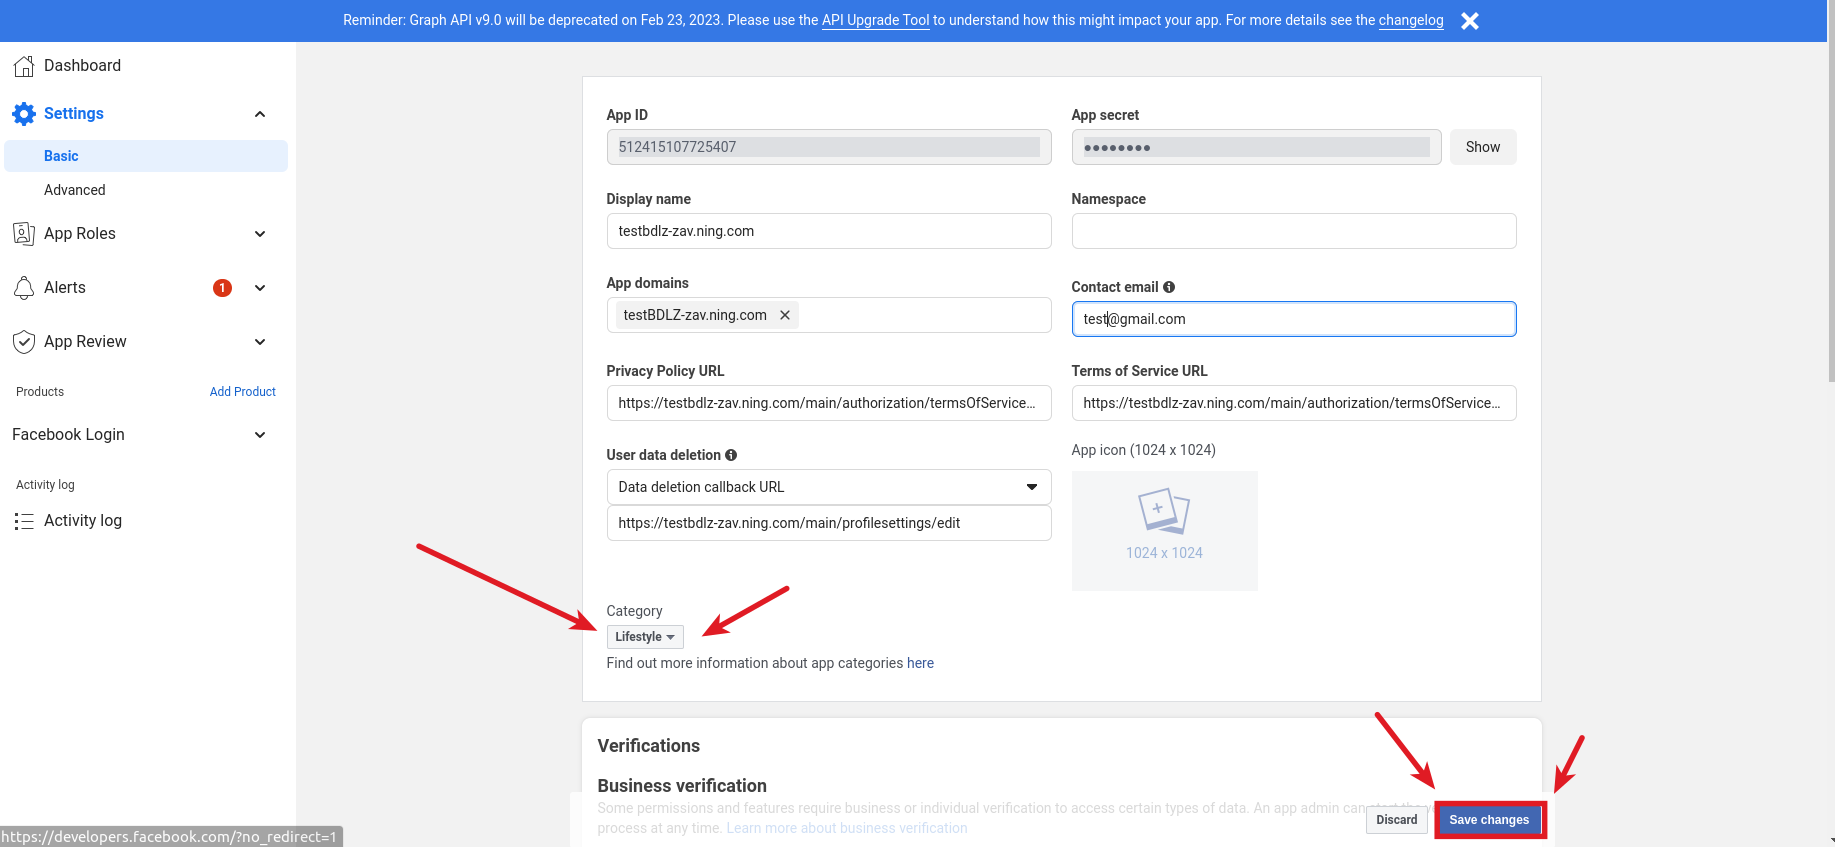
- Go to Setting > Basic;
- In the App Domains field, insert your network URL (e.g., network-name.ning.com);
- Fill in the Privacy Policy URL and Terms of Service URL fields.
You can use the link to your network’s default Terms Of Service* in both fields, e.g., https://network-name.ning.com/main/authorization/termsOfService?previousUrl=https%3A%2F%2Ftestbdlz-zav.ning.com%2Fprivacy
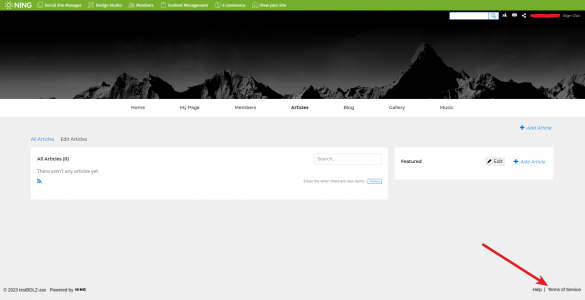
*You can get the following link by going to your network’s home page (network-name.ning.com) and scrolling to the bottom. At the bottom right corner, you’ll see a link to your network’s “Terms of Service”.
- Choose “Data deletion callback URL” in the User deletion URL, and paste the following URL, which addresses the profile settings page, where member can delete their profile page: https://network-name.ning.com/main/profilesettings/edit.
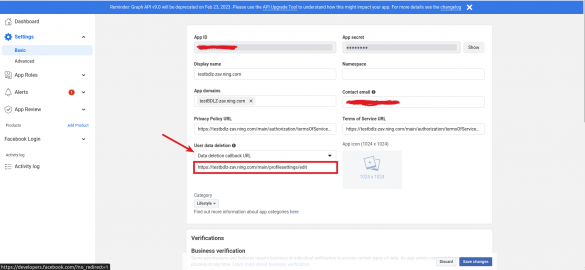
- Select any category from the Category drop-down menu and save the changes;
- Toggle the “OFF” switch in the top Facebook App panel;
- Click Switch Mode on the pop-up notification (the switch will become “ON”);
- In Settings > Basic, copy your App ID and App Secret;

- Paste the App ID and Secret in the corresponding fields of the pop-up that appears in your NING admin panel’s Sign-Up & Sign-In page.
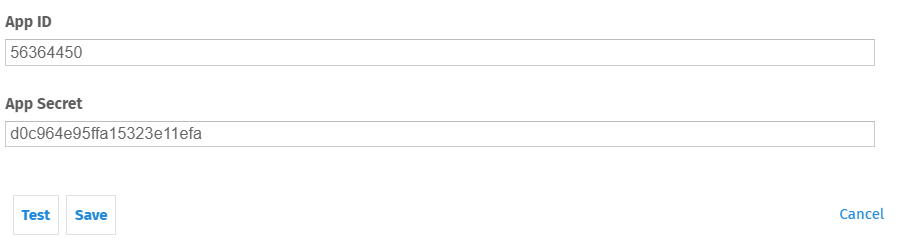
- Click Test.
- In the newly opened window, log in using your active Facebook account.
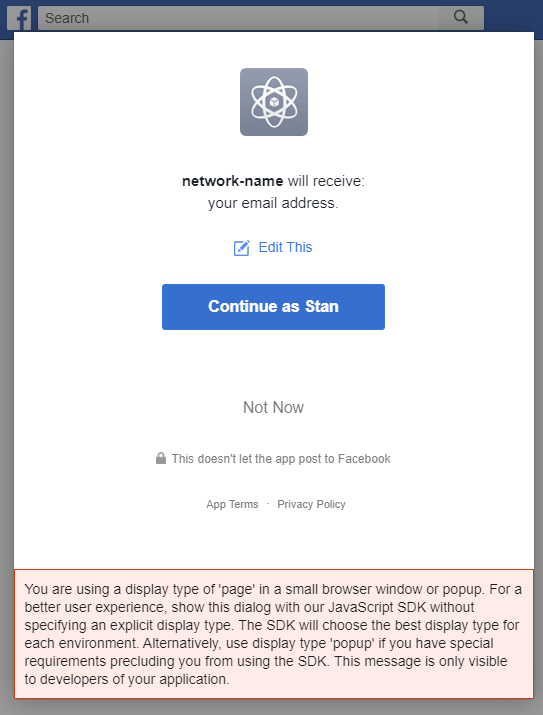
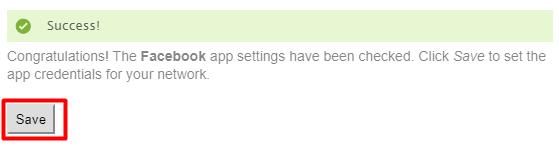
- A notification will appear if the settings are correct, confirming that the test was successful. Click Save to save the settings.
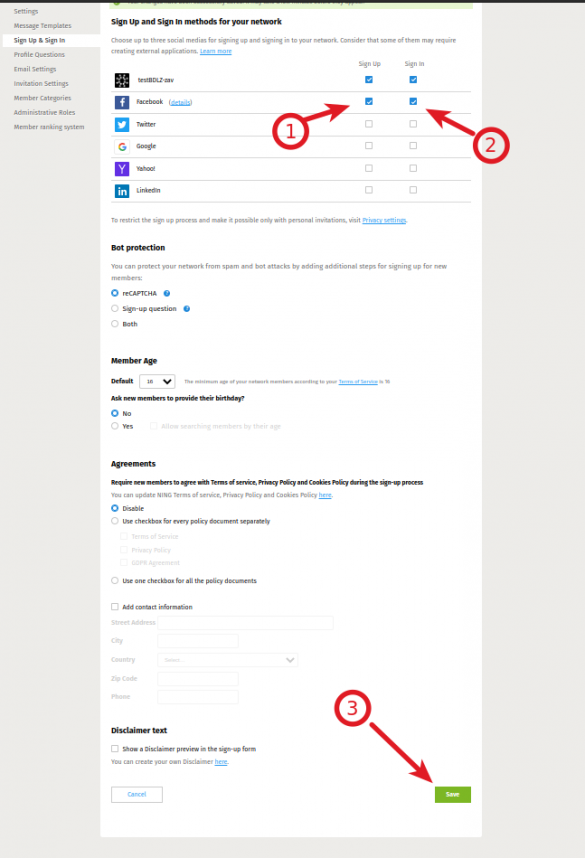
After that, do not forget to save the changes on the Sign-Up & Sign In page:
Similar Articles:
- None Found