- Go to the LinkedIn Developer Network and click “Create App”.
- Fill in the following fields and click “Create app”:
- Name: your network name
- Company: name of your LinkedIn project
- Business Email: your email address
- App Logo: upload your network logo
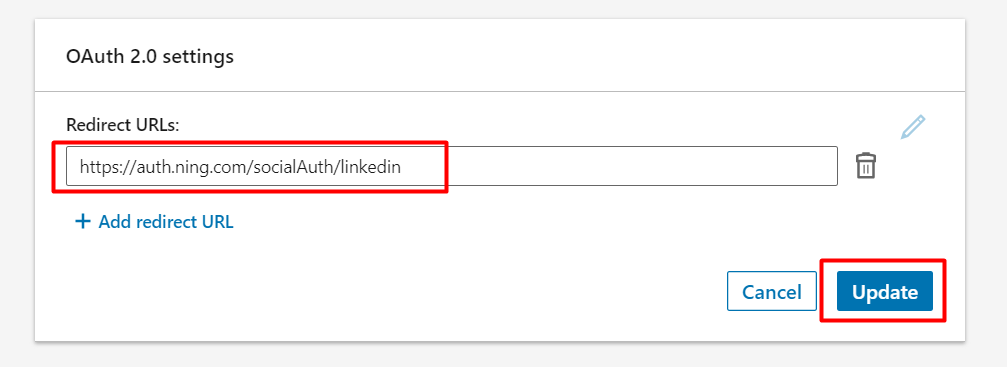
- Go to the “Auth” tab.
- Paste the following URL to the “OAuth 2.0 Authorized Redirect URLs” field: https://auth.ning.com/socialAuth/linkedin
- Click the “Update” button.
- Copy your Client ID and Client Secret.
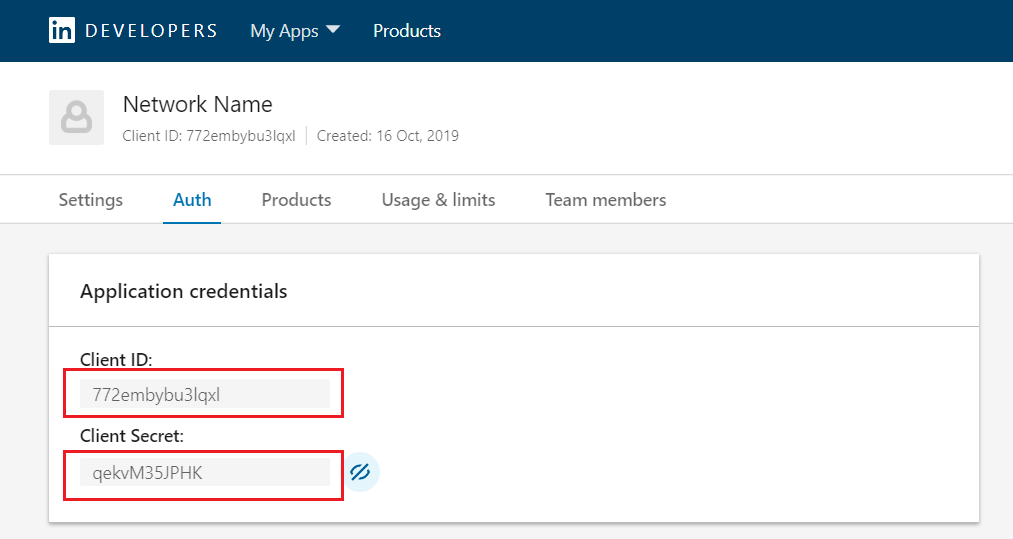
- Paste the Client ID and Client Secret in the corresponding fields of the pop-up that appears in the Sign Up & Sign In page of your NING admin panel.

- Click “Test”.
- In the newly opened window, log in using your active Linkedin account.
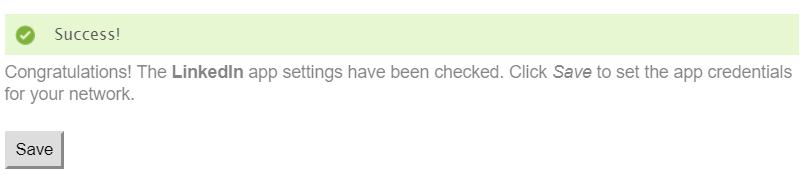
- If the settings are correct, a notification will appear, confirming that the test was successful. Click Save to save the settings.
Similar Articles:
- None Found